By Brawlio Editorial Team — Brawl Stars analysts and competitive players.
Last updated: June 23, 2026
Brawl Stars Map Strategies: Every Mode Explained
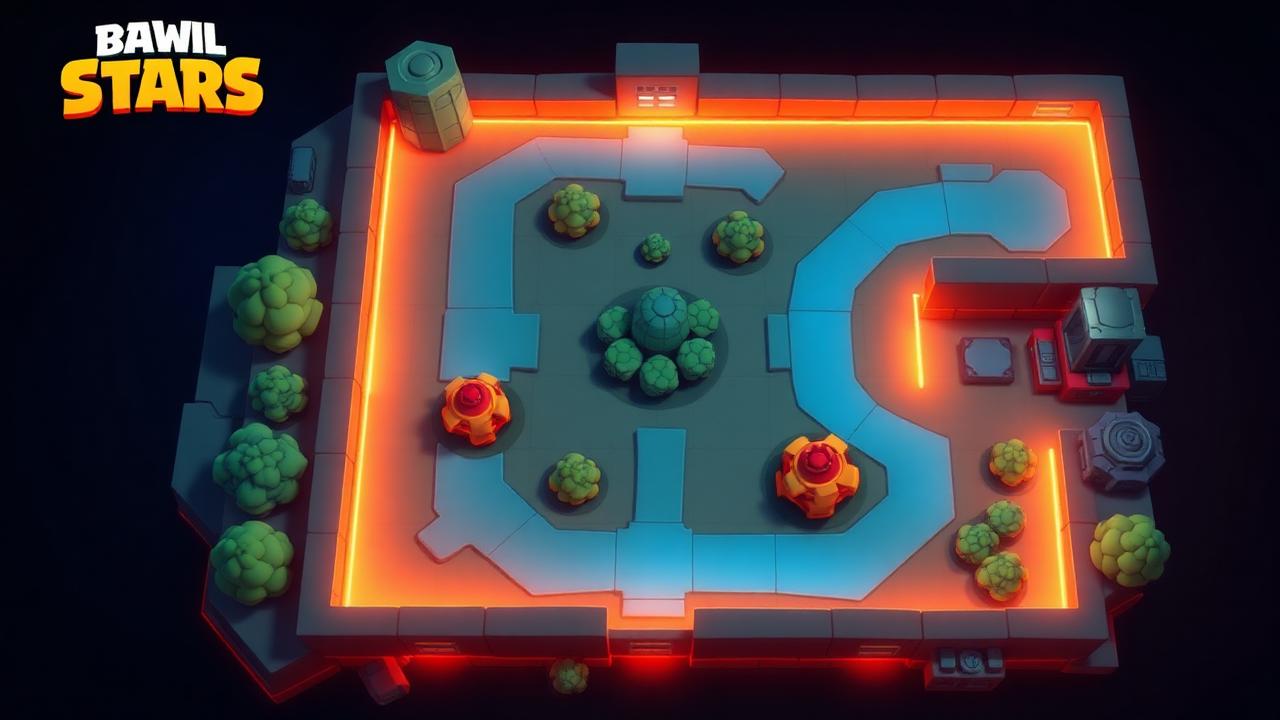
Every mode in Brawl Stars asks a different question. Are you controlling a mine, scoring a goal, protecting a safe or surviving one life? Players who treat every mode like Team Deathmatch lose games they could have won. Map strategy starts by understanding the win condition, then choosing brawlers and positions that create that win condition repeatedly.
Gem Grab — Control the Center
Gem Grab is about mine control and carrier safety. Pick controllers for mid, protect the gem holder and stop chasing once the countdown begins. The best position is often one tile behind the obvious fight, where you can help without dropping gems into danger.
Brawl Ball — Score or Die Trying
Brawl Ball is tempo. Supers should open lanes, save goals or create scoring windows. Tanks and wall-breakers are strong when they move the ball forward, but a team that ignores defense loses to one counterpush. Clear enemies before kicking blindly into traffic.
Knockout — One Life, Maximum Focus
Knockout punishes impatience. Range, cover and bush control decide rounds before the first kill. Do not take fair fights when you already have position; force enemies into bad angles and collapse only when a target is isolated.
Heist — Attack vs Defense
Heist is a damage race with role discipline. One player must respect defense while the others create burst windows. The best picks either melt the safe or stop enemy damage efficiently. Random mid fights are worthless if nobody converts the advantage into safe damage.
Bounty — Star Economy
Bounty rewards survival and controlled aggression. Once your team has the lead, every risky duel becomes worse. Play range, protect the blue star and force opponents to cross dangerous lanes. A single unnecessary death can erase two minutes of clean play.
Hot Zone — Zone Control 101
Hot Zone is not about standing in the circle forever; it is about controlling the entries so your team can score safely. Area denial, sustain and throwers are premium. Step out when you would die for free, then retake as a team instead of feeding one by one.
Showdown — Solo and Duo Strategy
Showdown rewards survival, matchup selection and patience. In Solo, avoid unnecessary early coin flips unless your brawler spikes with cubes. In Duo, trade space with your teammate and never split so far that a single enemy can isolate one of you.
Quick Takeaway
Map strategy begins with the win condition. Pick for terrain, position for the objective and stop chasing kills that do not help the mode. When in doubt, open the active map page and choose the brawler that best answers the map, not the one you played last match.
Unlock the full meta with Brawlio Premium
Ad-free browsing, full Brawlio AI coaching, premium meta alerts and advanced stats — from $4.99/mo.
About the author
This article was written by the Brawlio Editorial Team, a group of competitive Brawl Stars players and data analysts dedicated to helping the community improve their game.